My Life Working With & Building Pinhole Cameras!

Pinhole cameras are the perfect beginning for photography students and anyone looking to learn more about photography. Using some basic materials and equipment you can build your own homemade camera, which will produce photographs like no other photographic device! And just maybe, like me, you will become addicted to the process! This blog post is a first attempt at recording my experience making, exploring and teaching with pinhole cameras, where I will share my journey from being a college student to the present day!
How It All Began!
I distinctly remember my first experience making a pinhole camera! I was a student on the Photography National Diploma programme at what was then called Huntingdon Regional College and we were required to build pinhole cameras using old biscuit tins for one of our modules. These cameras used photographic paper, which had to be loaded in the darkroom, and had rudimentary pinhole lenses made using thin sheets of aluminium.
I remember them not being very good because the old biscuit tins leaked light which fogged the photographic paper, despite its lower sensitivity to light compared with photographic film. However, this did not deter me and I became fascinated with the idea of building my own pinhole cameras and experimenting with the concept. And over the years I have built a number of pinhole cameras, both as a student and later as a teacher of photography, and I have helped many students build their own experimental pinhole cameras and explore the medium.

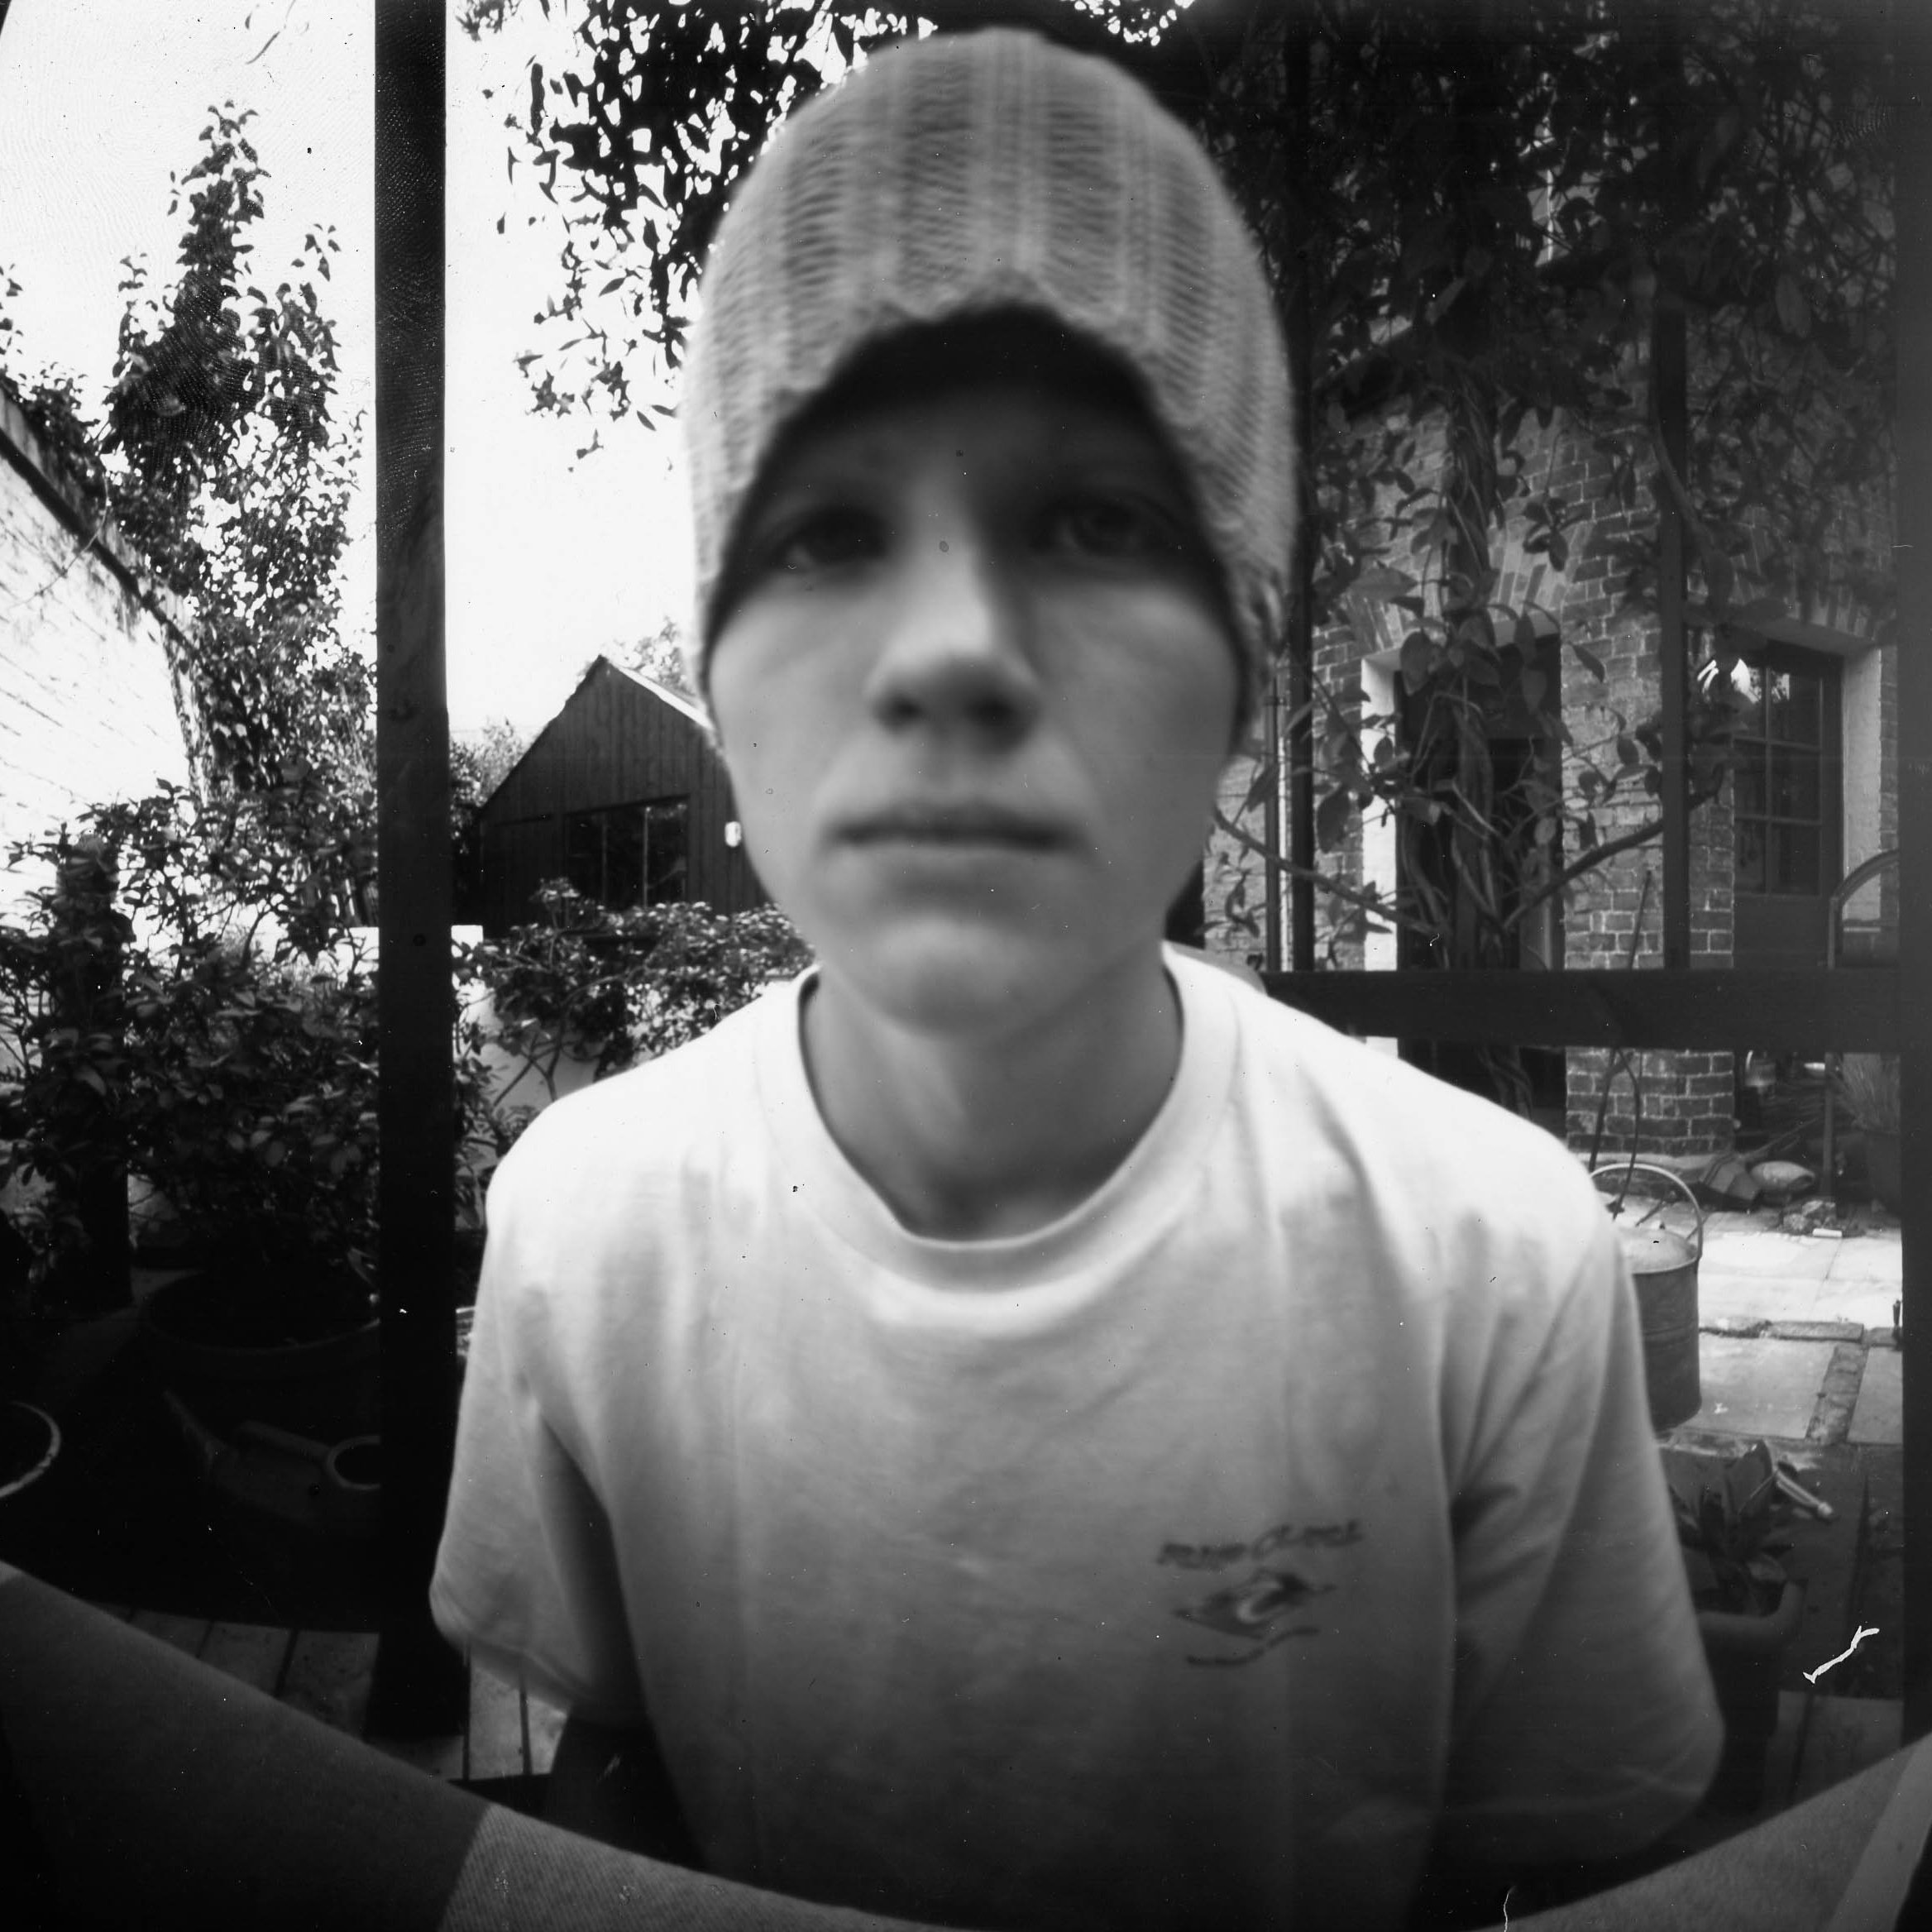
Self-portrait taken in Huntingdon Regional College using my pinhole camera, circa 2003–2004. I cannot remember the exact exposure time, but the light coming in through the window behind the camera was good, so it cannot have been that long.
Building My First Pinhole Camera
Having caught the bug with the college’s biscuit tins, I immediately set about building my own pinhole camera at home. This I constructed using a old wooden crate, which I had been using before as a shot trap for my air rifle! I painted it black and attached a hinged wooden lid. The opening for the lid was lined with felt to stop light leaking into the camera and it was fastened in place using a wing nut.
I measured the camera’s focal length —which is the distance from the pinhole to the image plane, or where the photographic film or paper is placed — and calculated the optimum pinhole size (1/25 of the square root of the focal length) for the camera. A pinhole was then created in a thin sheet of aluminium cut from a drinks can and sanded down until it was extremely thin.

My first pinhole camera, made using an old wooden crate with a hinged lid and an old sweets tin for the shutter.
This sheet of metal was then attached to the front of the camera where I had cut a circular hole in the lid, and I used the lid from a sweets tin attached to the front of the camera as a rudimentary shutter.
Like the college’s biscuit tins, my camera used photographic paper and had to be loaded in a darkroom. Photographic paper is not as sensitive to light as photographic film, so any exposure time calculated using photographic paper is going to be longer than that using photographic film. That said however, pinhole cameras, due to the nature of their rudimentary lenses take a lot longer to record a photographic exposures anyway; and from experiments (on a typical gloomy day) using photographic paper my pinhole camera seemed to take about 2 minutes to make an exposure.
There were also several ways to put photographic paper into the camera, which was fastened to the image plane using adhesive tack. You could either cut a sheet of photographic paper to the correct size and fasten it flat to the image plane, or you could use an oversized sheet of paper attached in the middle, so that the edges curved upwards towards the front of the camera. This second method of attaching paper inside of the camera produced distorted images as the focal length changed, effectively distorting the light!


I loved photographing with my pinhole camera, and on several occasions even loaded the camera and took it for a walk, knowing full well that I had to get my photographic exposure right because I would not be able to see the latent image until I had returned to the darkroom and processed the photographic paper. I also set about producing a series of pinhole portraits, particularly with family members, who had to sit still for several minutes at a time to have their photographs taken. The process was somewhat similar to the Victorian’s experience with portrait photography, where the chemicals and processes used were slow by modern standards and photographs could take minutes to be correctly exposed, and photographic subjects were normally clamped in place using all manner of medieval style clamps and supports!
Unlike the college’s biscuit tins however, the pinhole camera I constructed was actually usable because the camera’s chamber was lightproof and did not leak light around its openings. The camera also had the correct size pinhole for it’s focal length, meaning that the photographs produced were crisp and in focus (provided the subject remained still). And whilst not particularly advanced, even by pinhole camera standards (more on that later), the camera was fun to use and allowed me to build a foundational understanding of pinhole camera technology (for want of a better phrase) which later I built upon when teaching Foundation students about pinhole photography at the British Higher School of Art & Design in Moscow.
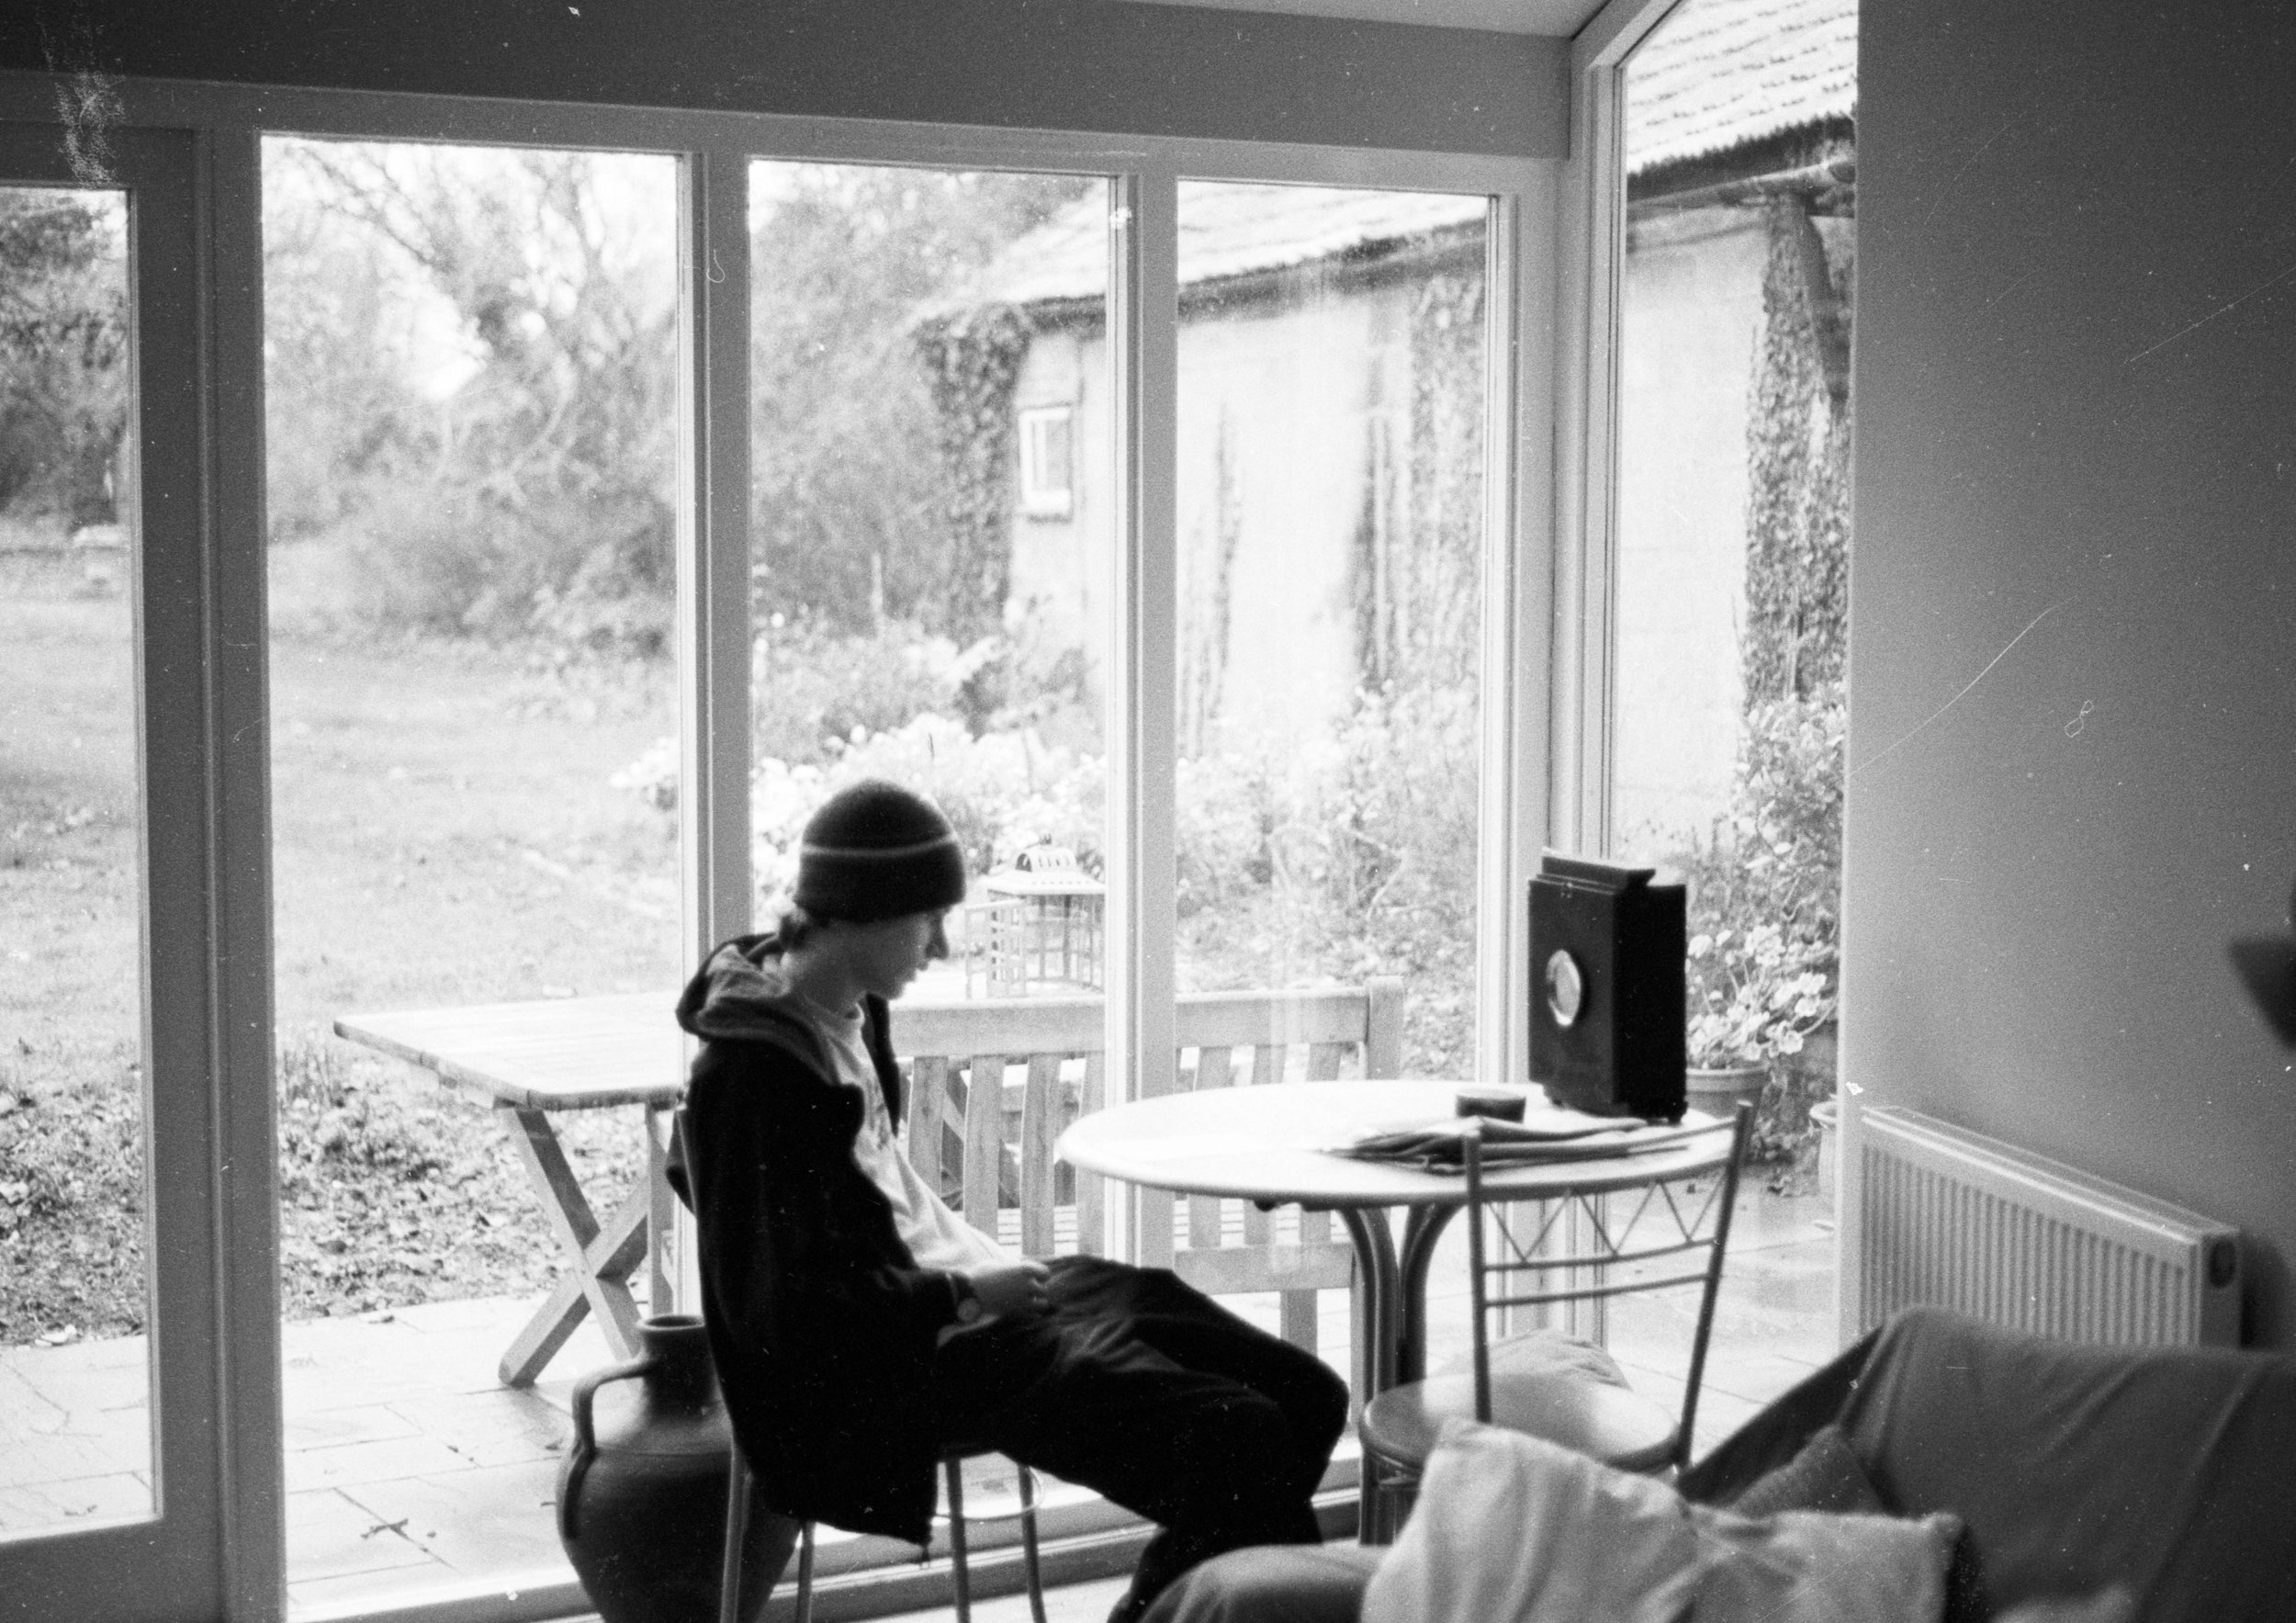
A photo of a photograph being taken! Subjects would have to sit completely still for several minutes whilst a photograph was being taken. Any movement would appear in the photograph as a motion blur, so photographing in good light where exposure times are considerably less is advisable.
Renewed Interest, After Years Of Hiatus
After completing my National Diploma in Photography I worked at a photojournalist for the local press and then studied photography and film-making at the University of Hertfordshire. During this period, I did not experiment further with pinhole cameras, and focused much of my work on the digital technologies of the day. It was not until years later, when I was living in Moscow and working at the British Higher School of Art & Design, which had its own small darkroom, that I renewed my interest in film photography and pinhole cameras.
In between lectures and when waiting to deliver workshops to the part-time foundation students in the evenings, I began processing film and printing in the darkroom, and around this time the school also started to become interested in running a photography degree programme. I was on the validation panel for the photography programme, and through the many turgid meetings which discussed all matters of academic minutiae I befriended Umberto Giraudo, who was then Course Director for the school’s Product Design (aka Industrial Design) degree programme and we discussed running a workshop about pinhole cameras for his product design students.
Whilst not necessarily visually creative like graphic design, illustration and photography students, product design students have to be creative problem-solvers and look for creative realisations in response to restricted briefs, and it was recognised that a pinhole camera project would include most of these aspects. Building pinhole cameras incorporates a certain level of science, understanding, creativity and experimentation. Charged with my new brief, I eagerly set about creating a new pinhole camera which I could use to demonstrate pinhole photography to the students.

My new pinhole camera made for demonstrating pinhole photography to students at the British Higher School of Art & Design, Moscow. The camera was constructed from card, mount board and an old recycled pair of trousers!
My New Pinhole Camera
My new pinhole camera was not too dissimilar to my first in that it used photographic paper as the recording medium, but many aspects of its construction were totally different. I elected to create the camera’s box from panels of mount board enclosed in black lightproof fabric cut from an old pair of cargo trousers. The camera was rear loading, meaning if any light entered the camera by accident it would be less likely to fog the photographic paper. The back of the camera closed using fabric cut from the trouser’s pocket, which wrapped around the box’s edges and was secured in place using velcro.
The front of the camera had a pinhole lens made in aluminium. The focal length of the camera was 100 mm, so the pinhole needed to be 0.4 mm in diameter and was carefully made using a very fine needle, whilst observing the work through a loupe and measuring the hole’s diameter with a ruler. With pinhole cameras the size of the pinhole in relation to the focal length is the critical factor in image quality. If the pinhole is too big or too small, then both the exposure time and the image quality will be affected.
However, there was one more important aspect of the camera’s pinhole lens to consider. The material in which the pinhole is created must be thinner than the hole itself (otherwise you get artefacts in the image’s periphery). So the material I used for my camera must have been thinner than the 0.4 mm diameter of the pinhole, and to do this I spent some time carefully sanding down the aluminium with some fine sandpaper. I removed all of the paint from the can, and then sanded the material until it was as thin as a cigarette paper!

View from the British Higher School of Art & Design’s Administration of the railway bridge over the Yauza River, Moscow. Note the tape in the corners of the photograph from where the photographic paper was attached inside the camera and the reflection of the lens in the window.
Having created the camera’s chamber, hinged lid and pinhole, I created a rudimentary shutter mechanism on the camera’s front using card and paper. This had a fun design — created by Evgeniya — printed on it to make the camera look a little more like a classic camera! And to operate the camera, all you had to do was to remove the card sleeve which shielded the pinhole from the light, and then replace the sleeve once the exposure had been created.
I cut a number of sheets of photographic paper in the school’s darkroom into the correct size for the camera, and then loaded it with a single sheet. The photographic paper was attached to the back of the camera using small pieces of masking tape, ergo you can see diagonal lines in the corners of the photographs created using this camera. The remaining cut sheets of paper I put back into the photographic paper’s box, which also stored my offcuts used for testing photographic exposures when printing with the darkroom’s enlargers.
I created a number of test exposures around the school using this camera, each time walking the camera, complete with its latent image back to the darkroom to be unloaded, processed, and then reloaded. And unlike the camera I created in college, I found this camera very easy to use and it produced consistent and controllable exposures because the box did not leak light and the pinhole was the correct size for the camera’s focal length.
This camera I used throughout my time teaching photography and pinhole cameras to the students at the British High School of Art & Design. I distinctly remember getting many funny looks from the people in administration where I would perch my camera on the window ledge to get photographs of the railway lines adjacent the school’s building or the Yauza River. Most of them did not understand what a pinhole camera was, and did not believe it when told that this simple cardboard and fabric box can create photographs just like their cameras or phones!

Inside the camera’s chamber, the photo paper was attached with masking tape to the back of the door. You can see the back of the pinhole camera lens at the front of the camera.
The Product Designers
Product design students are not photographers, and thus were charged with a brief to create a fully functioning pinhole camera, and then to create their own design with an improvement. This is what I loved about this brief, they had to create something different, and there are a lot of things you can do with pinhole cameras.
The students had a workshop day where they learnt the basic science behind pinhole cameras: how they work, rudimentary optics, how to calculate pinhole lens size, image size and aperture. They were given several different design routes to follow, either creating a camera with photographic paper, or a camera which used photographic film — whilst understanding the advantages and disadvantages of either. And then tasked to go away and come up with an improved design which increased the cameras functionality or solved a problem (e.g. reloading the camera outside the darkroom)!
To the Product Design students this was not a photographic brief per se, but a problem-solving and design brief which worked with a device that performed a specific function, and I really loved working with them as they grappled with the brief. There were so many different ideas including: reloadable pinhole cameras, pinhole cameras designed to take multiple photographs, experimental pinhole cameras which used multiple lenses to create montaged photographs from different light sources, and even a 3D pinhole camera (which took two photographs simultaneously, and a set distance apart, before combining the processed result as a gif animation on the computer).
We also experimented with pinhole camera construction using the Product Design department’s workshop. One idea was to use the workshop’s drill (which was a large drill press) and very small drill bits to create the pinholes in the sanded sheets of aluminium, however this did not work because we kept breaking drill bits and the size of the drill bit was too large for producing cameras with a small focal length (e.g. less than 150 mm). We also consider using the laser cutter to make pinholes (before deciding to carry on making pinholes the traditional way) and even discussed making a kit pinhole camera which could be constructed from parts cut using the laser cutter.
These were wild times, and although most of what was thought, discussed and experimented with did not come to fruition, we had a lot of fun pushing pinhole cameras further and experimenting with them as a medium.
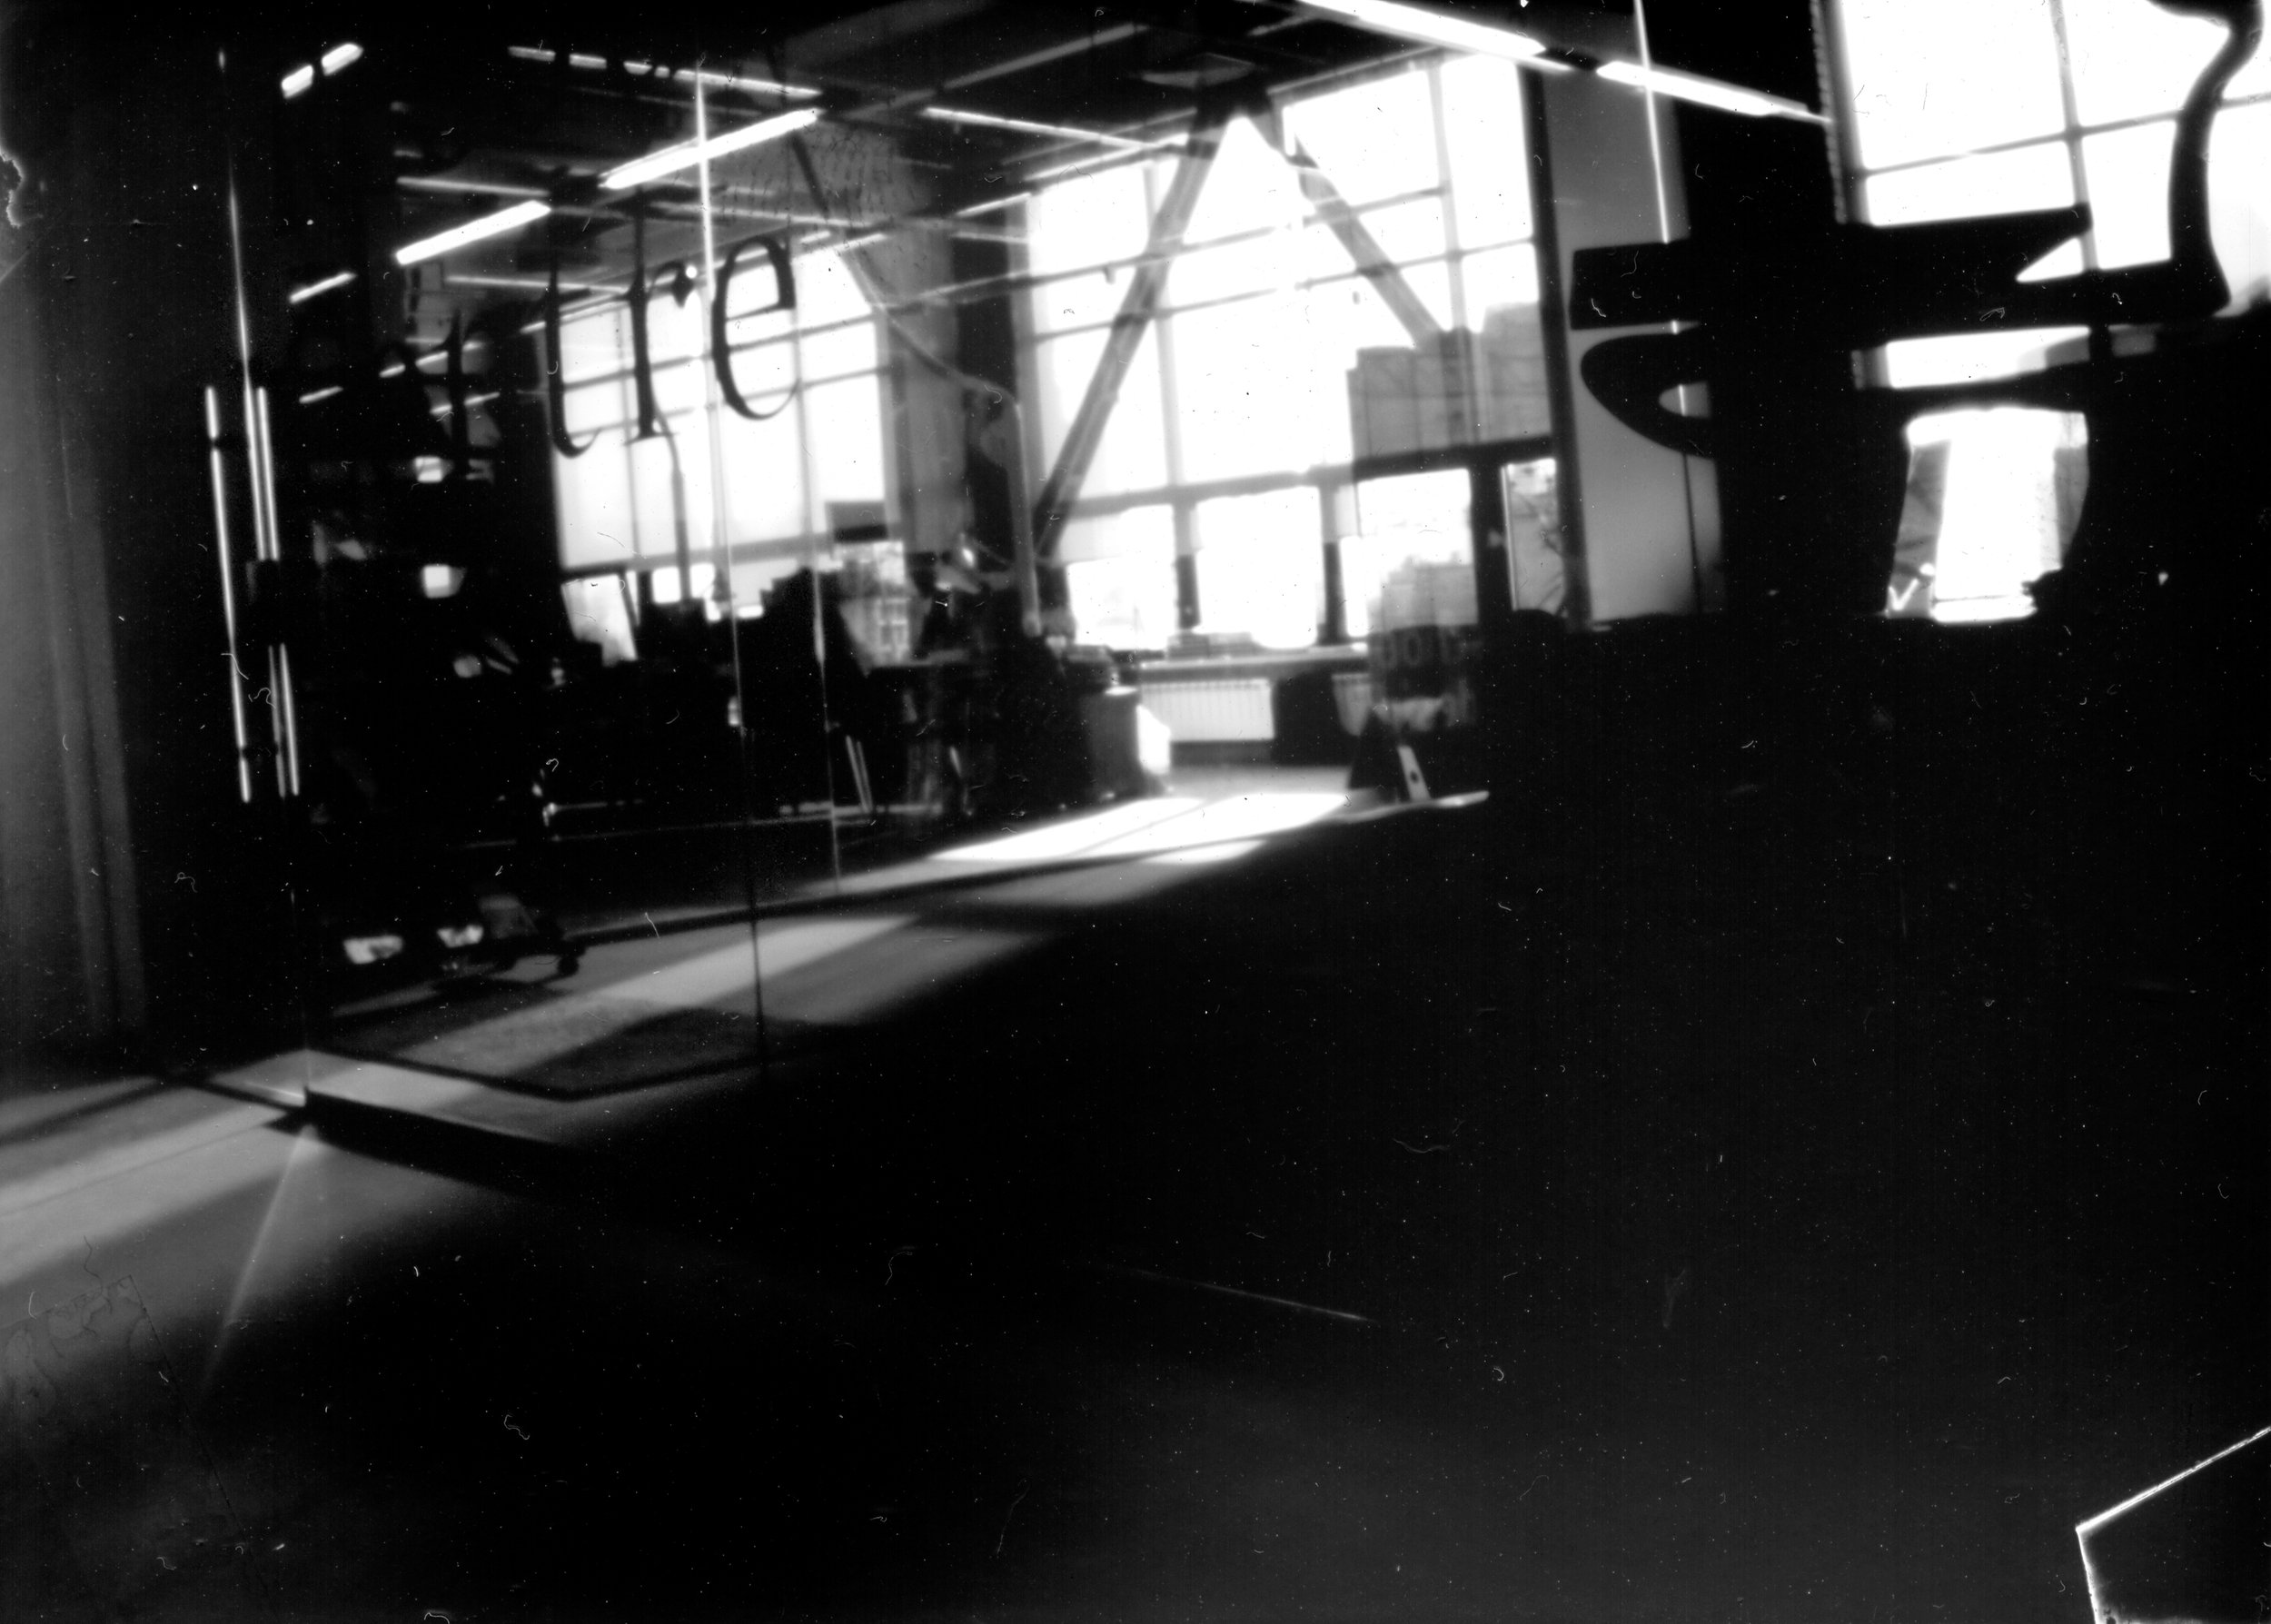
Sunlight coming in through the windows of the British Higher School of Art & Design’s library. I took this photo whilst teaching pinhole camera photography to the school’s Foundation students.
Onwards, With The Foundation
Following my experience teaching the Product Design students, I started delivering pinhole camera workshops to the Foundation students. The workshop was delivered in the Foundation’s exploratory trimester, where the students got to try out the different pathways and experiment visually. My line managers were against things being strictly a photographic affair, so the workshop series was billed as an ‘experimental image-making process’ (as part of Communication Design). Retrospectively pinhole camera photography has always been an ‘experimental mark making process’, because there are so many different ways light can effect a photographic medium. But I felt due to their own lack of knowledge in this area (probably having only created a rudimentary pinhole camera during their own foundational education, like I did years ago in Huntingdon Regional College) they had an aversion to any brief which they felt was too specific or which they did not understand.
With hindsight I’m really pleased that I was able to deliver pinhole camera photography as an experimental image-making process to the Foundation, teaching several hundred students. However, life was easier on the Product Design programme because of how they approached the brief and what they saw in the project. The Foundation was a battle, a successful one, but never-the-less hard work.
There continued however to be a great range of experimental pinhole cameras produced. One student, Yana, made a pinhole camera using old socks, which used tiny pieces of photographic paper and was constructed with sheets of card glued inside the sock’s tube. And another student, perhaps inspired by a football, created a polyhedron pinhole camera that had large number of lenses (I cannot remember how many)!

A nondescript industrial jungle adjacent to the British Higher School of Art & Design. The problem with pinhole cameras which use photographic paper is that you are limited in how far you are willing to venture from the darkroom because once you have taken your photograph you have to return to the darkroom to process the image and reload the camera — all the while not necessarily knowing if you have successfully captured the exposure!
One of the holy grails of pinhole photography is how to create a pinhole camera which uses photographic paper, but can take multiple photographs without having to be returned to the darkroom to be reloaded. I had several students on the foundation who eventually solved this problem, but with two completely different approaches. One used several old 5x4 negative holders to contain the photographic paper and protect it from the light. When the exposure was created, the lightproof sleeve was re-inserted into the holder and it was removed from the camera and replaced with the next loaded holder. This approach worked well and allowed the student to successfully create several photographic exposures before returning to the darkroom to process their images. However, it used recycled photographic equipment which allowed it to perform that function. Thus it did not truly solve the problem of how to create a pinhole camera which can take multiple exposures on photographic paper from scratch because the recycled equipment already performed that function in its previous life on a 5x4 camera.

A pinhole camera disguised as a dog created by one of the Foundation students. The pinhole camera lens was in the rear of the animal!
This breakthrough however was created by another student who made a camera from empty coffee tins mounted on top of each other to create a very tall camera with three chambers. In the first chamber, on top, there was 6 thin strips of photographic paper, held in sleeves around the edges like the bullets in a revolver pistol. At the bottom of this first chamber, which was attached to the second or middle chamber so that it could rotate, was a slot, which allowed a piece of photographic paper to fall through into the middle chamber when in the correct position. The middle chamber was where all the magic happened, this was where the photograph was taken, and then the chambers were rotated again so that the exposed piece of photographic paper dropped into the final bottom chamber!
While not the most gamely pinhole camera to use, this design successfully solved the problem of how to create a pinhole camera which can take multiple photographs on photographic paper, and by mechanical means. It did however have its drawbacks, chiefly that the camera was very tall and therefore unsteady. Pinhole cameras usually require quite long exposures, and trying to keep this tower steady for several minutes whilst the photograph was being taken was difficult. Some times the pinhole camera which produces the best photographs is the most boring!


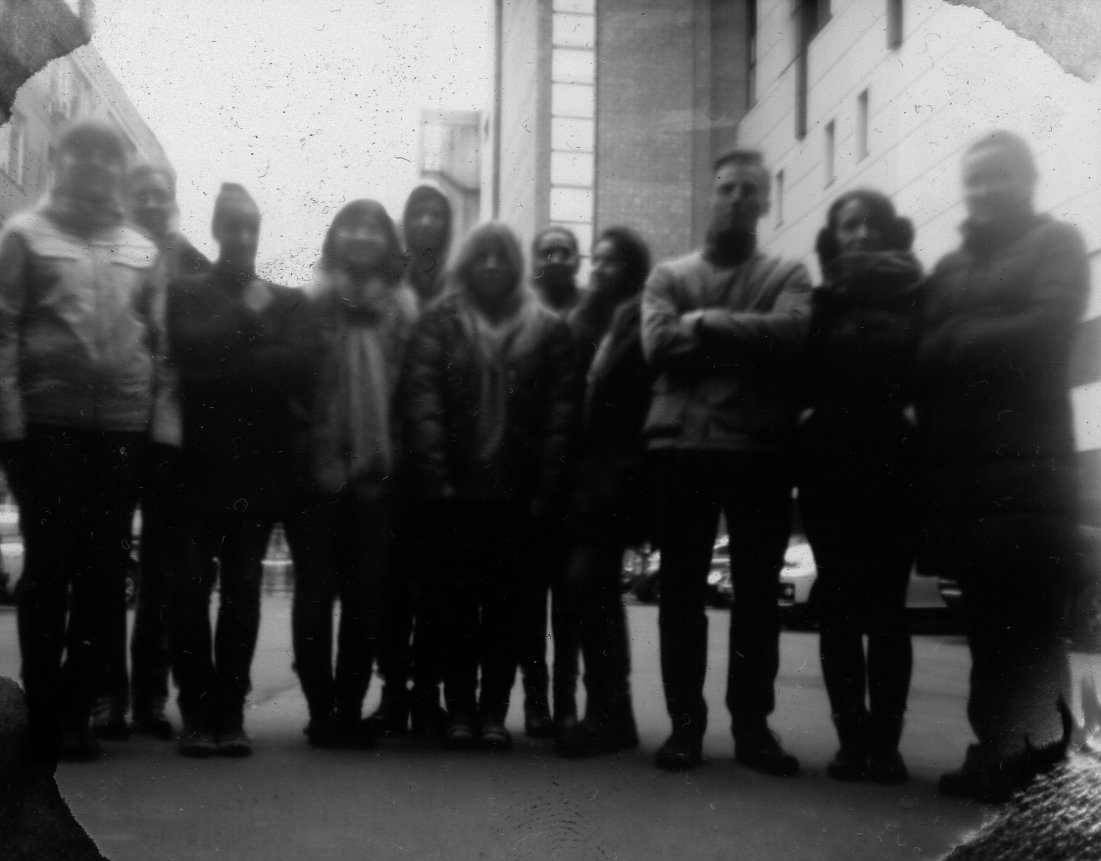

Group photographs of Foundation students taken outside the British Higher School of Art & Design, whilst demonstrating pinhole cameras. The students had previously witnessed the camera being loaded with photo paper in the school’s darkroom and were amazed when they saw the photo which had just been taken being developed afterwards, back in the darkroom. The exposure time for these photos was about two and a half minutes.
The Terrorist Camera!
We did however have a lot of fun making these cameras and producing experimental photographs, and when you walk around with a pinhole camera you get strange looks from people who are trying to work out what you are doing! Pinhole cameras are such beautifully simple devices, and define what a camera really is — a box with a hole in it!
Probably the best story from this period was what happened to Stan, who was one of the Product Design students. He had created a basic cardboard pinhole camera in that first workshop where the Product Design students where required to learn how pinhole cameras worked. This he took to a park area along the river, not too far from the British Higher School of Art & Design. Now Stan, when taken out of context, looks a bit shifty, and if you were to happen upon him, especially armed with a cardboard box of unknown origin and content, you might be forgiven for thinking he was perhaps up to some sort of nefarious activity! And this is indeed what happened! Russia is a country full of tedious little jobs, and there is a entire sub-section of society dedicated to these duties which include watching the escalators in the Metro, mending potholes in the roads (Britain could do with some of these), painting fences in the park, cutting the lawn and grass verges, guarding the front doors to apartment blocks and so forth! Most of these duties are carried out with the bare minimum of enthusiasm, but when confronted with Stan and his pinhole camera, these wretched creatures suddenly became great guardians of the peace, and so the rubbish collectors emptying the park bins thought ’shifty’ Stan was some sort of terrorist! Obviously trying to explain — in any language — what a pinhole camera is to someone who does not understand photography is difficult!

Portrait of Stan (aka: the pinhole camera terrorist) outside the British Higher School of Art & Design taken using my pinhole camera.

A photograph of the garden where our studio was based taken using a matchbox pinhole camera. I found matchbox pinhole cameras considerably harder to make, and because of their physical limitations in focal length and the sensitivity of photographic film compared with photo paper, there is less room for experimentation.
Creating A Skillshare Class About Pinhole Photography
Eventually my time at the British Higher School of Art & Design ended, and Evgeniya and I took design jobs in Germany, before returning to the United Kingdom in late-2015. During my time in Germany I did not do any pinhole photography (or film photography), and it was not until we had established our design studio in Sleaford which specialised in the production of Skillshare classes and online teaching that I considered revisiting pinhole photography, for the third time.
Those were happy times in online teaching and we had the space to produce several classes about experimental subjects, and did not have to worry too much about trending algorithms and student numbers. So we decided to make a class about creating 35mm matchbox pinhole cameras using items commonly found around the house.
This has to be one of the hardest classes we have created because there were a lot of close-up shots of small details, which had to be clear to properly demonstrate the process. But after a challenging planning process, production, and then post-production — we succeeded, and I’m glad we did it because we’ll probably never get to make a class like that again because the environment in online learning and ed tech is so different now (but that’s a discussion best saved for another day).
Whilst I did enjoy experimenting with and creating 35mm matchbox pinhole cameras, personally I’ve found that you cannot adapt them to the same level as pinhole cameras which use photographic paper. This is because photographic film is considerably more sensitive to light than photographic paper and it is smaller, meaning that the focal length and size of the camera is compromised. Pinhole cameras which use photographic paper offer a lot of creative freedom and it was the process of designing and building my own cameras which captivated me.
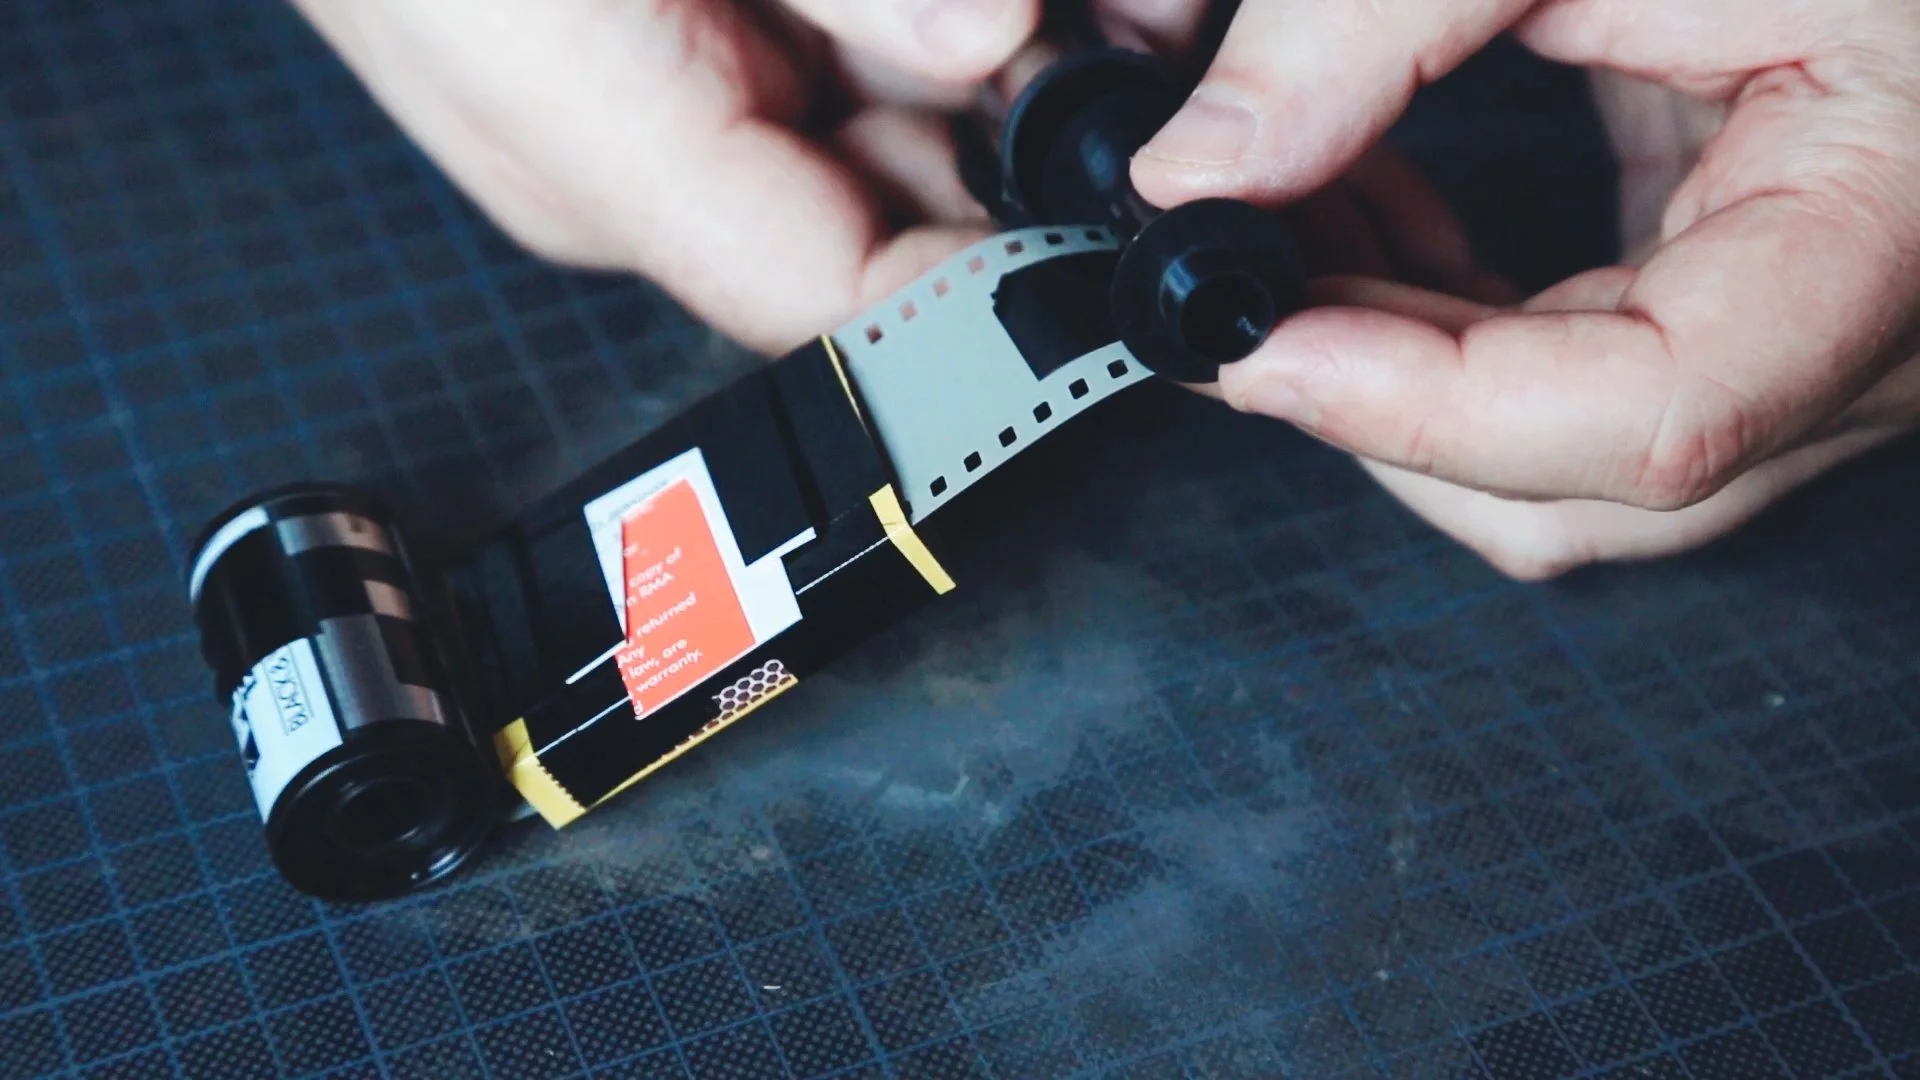
Creating a matchbox pinhole camera. The camera is built using a small matchbox and several canisters of 35mm film.
Some Final Thoughts, About The Past And Future
Pinhole cameras and photography have been very special for me, both professionally and personally. It is an area of photography which I feel I have owned and found a space where I can give back and teach others. And in our overly digital environment (not that I’m complaining), learning about pinhole cameras and rudimentary optics is becoming increasingly important as we become more and more separated by the layers of technology from actually taking photographs.
I hope, and we’ll see what any fourth round of working with pinhole cameras looks like! Perhaps I’ll challenge an AI to create pinhole photographs for me!