Quick Tips For Restoring Old Photographs in Adobe Photoshop CC
Recently I’ve been doing a lot of restoration work with old photographs for several projects and wanted to share with you some quick tips and the basic tools I have used to restore these photographs using Adobe Photoshop. A lot of these pictures had dust and scratch marks which needed removing and Adobe Photoshop’s image retouching tools like the Spot Healing Brush and Clone Stamp have proved indispensable.
I also have a class all about photo restoration (available on Skillshare and on Teachable) if you want to learn more or watch me restore several old photographs. So without further ado, here is a quick run through of the different tools I have been using.

I recently restored this group photograph of officers and crew on HMS Ausonia in May 1940. The original image was taken by the ship’s photographer and this photo was restored from a print my Grandfather had in family albums. The original print had become faded and had several nasty folds and creases which needed removing, some of which went over subjects’ faces and uniforms.
Spot Healing Brush
The Spot Healing Brush is Adobe Photoshop’s go-to tool for healing photographs, and it works by cloning areas from other parts of the image and blending those pixels from the sampled area seamlessly with those in the target area. It is really useful for quickly removing dust, speckles and blemishes from the image. Unlike Photoshop’s other retouching tools, you do not need to define a target area: the Spot Healing Brush automatically selects the most suitable area from the image. Most of the time it gets this right, but sometimes struggles with complex areas and lines.
Like all Adobe Photoshop tools, when using the Spot Healing Brush you can change the tool’s settings with the options displayed in the Option Bar at the top of the workspace. These include:
Proximity Match mode which analyses the data around the area you are fixing and finds the best match;
Create Texture which analyses the area around the area you are fixing and generates a texture pattern;
Content Aware Fill which intelligently works out how best to fill the areas you are retouching.
You can also change the brush size and mode in the Options Bar. The modes are similar in function to the Blending Modes available in the Layers Panel and will change how the repair is applied. Most of the time I just use the Normal mode.
Healing Brush
Sometimes the Spot Healing Brush tool does not work on complex shapes and structures, and in this case I revert to the standard Healing Brush tool. The Healing Brush tool works in a similar way to the Spot Healing Brush tool, except you have to define a sample area by pressing the Option/Control key and selecting a suitable area. However it is important to stress that the Healing Brush is very different from the Clone Stamp which I’ll cover in a moment; it analyses the texture of the sample point and combines it with the colour and luminosity of the pixels that surround the destination point. The Healing Brush also samples the pixels outside the perimeter of the healing brush cursor area, allowing it to create smooth transitions when applying its patch.
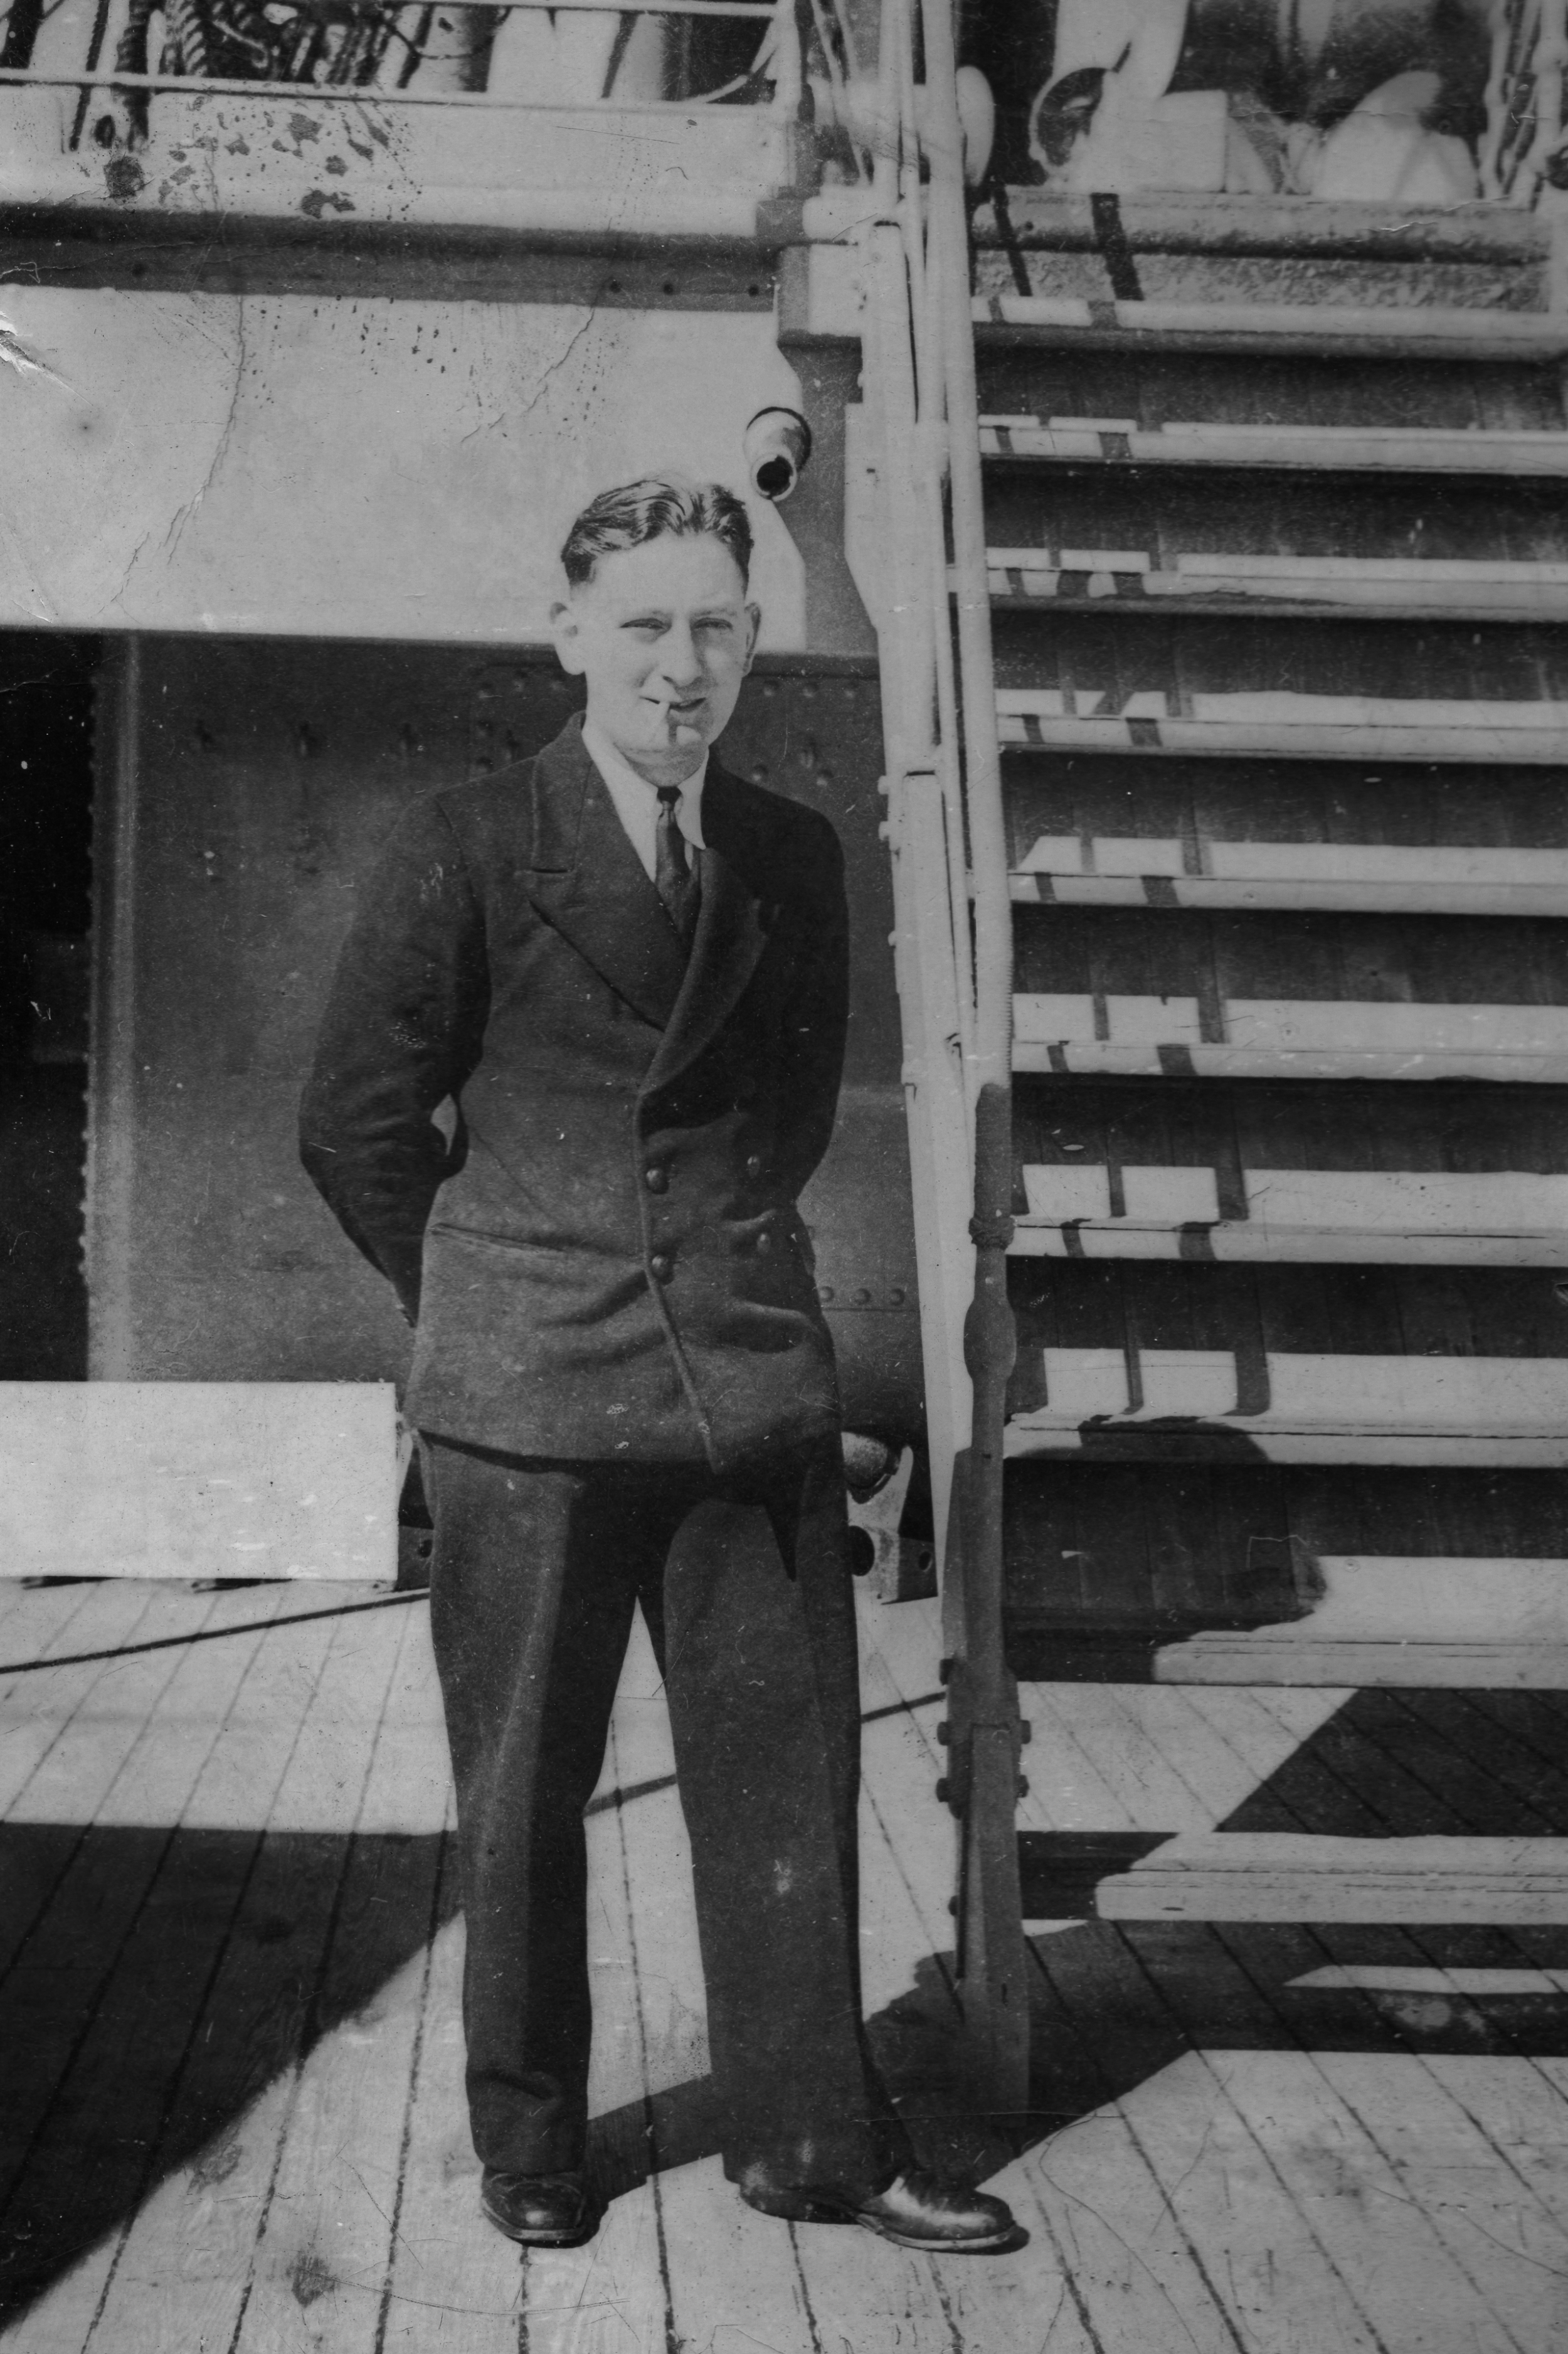
Portrait of my Grandfather on the deck of HMS Ausonia. This image was probably taken in the summer of 1940 when the ship was on convoy protection duty in the North Atlantic.
Clone Stamp Tool
Clone Stamp is one of Adobe Photoshop original and most venerable tools, it’s been there since the beginning and I cannot remember a time without it! However just because it’s old, does not mean the Clone Stamp tool is not useful. Like the Healing Brush you have to define a sample area by pressing Option/Control and selecting a suitable place on the image. The Clone Stamp can be particularly useful when dealing with those complex things that the Spot Healing Brush cannot handle, for example a hair or scratch which goes over a straight or curved edge. When using the Clone Stamp tool you must be very careful what area you are sampling.
As with the other retouching tools available in Adobe Photoshop, there is a number of different features which you can control in the Options Bar, these include the stamp size, brush head and mode. Unlike the Healing Brush, the Clone Stamp features a full range of Blending modes. You can also control the Cone Stamp’s opacity and flow. All of this actually makes the Clone Stamp a highly versatile tool, despite the Healing Brushes’ more technologically advanced features!
Patch Tool
The Patch Tool can be used to repair large areas with a consistent texture or tone. When using the Patch Tool you need to draw around the area you want to patch using its Lasso cursor and then drag that selected target area to a suitable adjacent sample area to create a patch. The Patch Tool is content-aware like the healing Brush and Spot Healing Brush tools. In the Options Bar up top you have several different modes to work with including: Normal, which simply creates a basic patch (much like the Clone Stamp tool) and Content Aware which intelligently analyses the sample area to creature the correct texture. The Structure and Colour options can be adjusted to get things looking just right. I rarely have to use the Patch Tool, but it’s really good at removing negative drying marks in the sky on my images because these typically cover a large area.
Want to learn more?
I hope you find these quick tips useful! If you want to learn more about photo restoration and advanced image editing techniques, I have several classes just for you including my class Beginner’s Guide to Retouching Old Photographs in Adobe Photoshop (available on Skillshare and on Teachable) and Adobe Lightroom Classic: Advanced Workflow & Tips for Enhancing Your Color Edits (also available on Skillshare and on Teachable).