Black & White Photography: Enhancing Your Images Using Colour Filters
I first got into using colour filters in my black and white photography when I was a photography student: we were shown how magenta and yellow filters in the darkroom can affect photographic prints. Like all photography students I was particularly impressed by how magenta increased the contrast in my photographic prints and made them punchier! Needless to say many of my early prints had too much contrast, much to the chagrin of my tutors! This newfound understanding however, got me using the colour filters which I had as part of my camera kit and had been gathering dust because I did not understand which filter to use in a particular situation or how they can improve a black and white photograph’s visual qualities.

Merry-go-round near Avenue Pierre Mendès France, Marseille.
Why You Should Use Colour Filters When Taking Black & White Photographs
Using colour filters in black and white photography enhances the overall quality of the photographs which you take and there is a range of different colour filters (I shall run through these in a moment) you can utilise in different situations. Colour filters (and their digital counterparts in programs like Adobe Lightroom and Adobe Photoshop) enhance the tonal range captured in your photographs and how they are reproduced in black and white.
Knowing what filter to use in which situation, or what filter to use when dealing with a tricky image edit on the computer afterwards will speed up your workflow, drastically improve the quality of your photographs and allow you to create a more dramatic look. Furthermore, a set of filters is a relatively inexpensive upgrade to your photographic kit, but one that will give you that extra edge and flexibility when photographing subjects using black and white 35 mm and medium format films. And knowing how colour filters work will enable you to produce better results when creating black and white edits of your digital photographs in Adobe’s digital darkrooms afterwards, because the Adobe’s apps have digital versions of these filters.
Colour Filters: Yellow
The yellow filter is the easiest to use and perhaps the most versatile. Using a yellow filter helps to remove some of the blue and UV light which reduces the contrast in black and white photographs, and helps to bring out any clouds in your photographs, but not in an overly dramatic way like the orange and red colour filters. Yellow filters enhance the skies in your photographs by gently darkening the blue areas, helping the whites stand out. Yellow filters are great for outdoors, buildings, landscapes, and people. Unlike some of the other colour filters, yellow filters do not drastically alter your photographic exposure, meaning that they are still useful in tricky lighting scenarios.

Abandoned plantations near La Caleta, Tenerife.
Colour Filters: Red
Using a red filter can create dramatic tempestuous looking skies. This is because it will considerably darken any blue areas in the photograph. However, red filters have a very strong effect on your exposure and most through the lens light meters will have trouble automatically compensating for the filter, so you’ll need to overexpose your photos by several stops when photographing with a red filter. This reduces your margin when photographing in darkened lighting conditions, especially when using slower films.
In black and white photography the rendition of reds and greens can be a little problematic, with both producing similar tones of grey, even with panchromatic films. Using a red filter on your camera can help solve this problem because it’ll lighten any red areas and at the same time darkens any green areas in the picture.
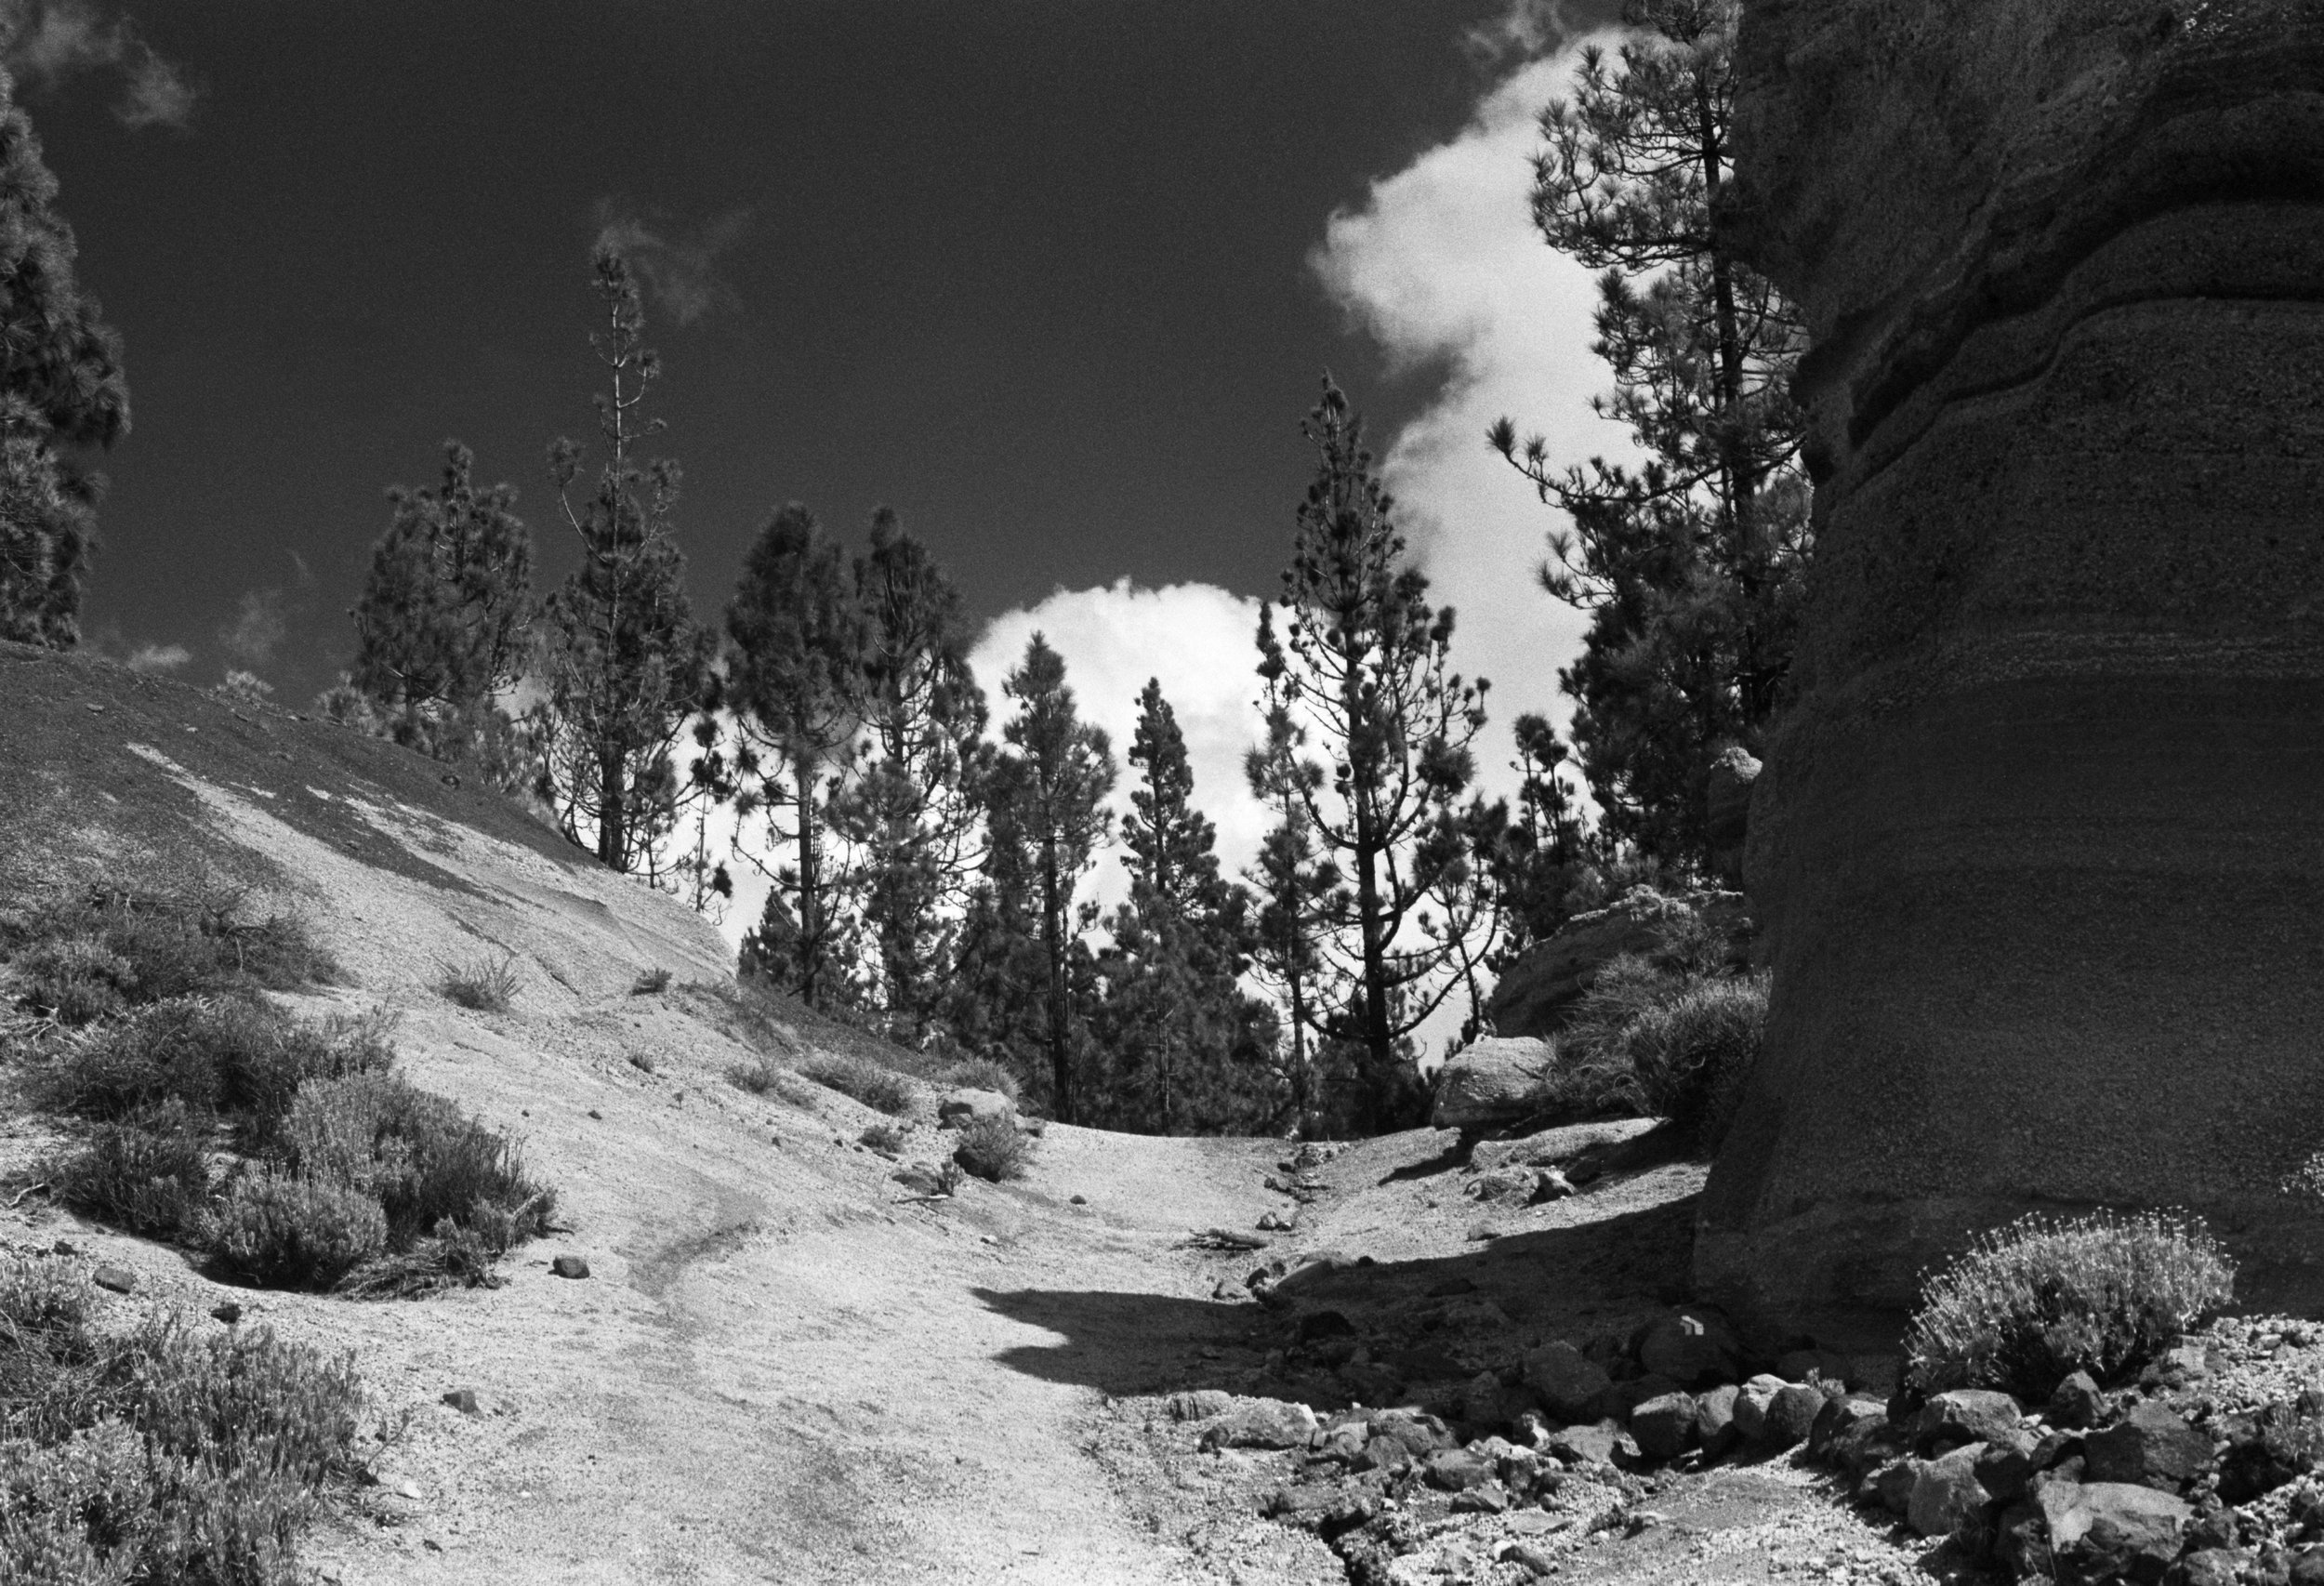
Lunar landscape on hiking trails near Vilaflor, Tenerife.
Colour Filters: Orange
The orange filters is kind of a halfway house between yellow and red: it gives a stronger effect than the yellow filter, increasing contrast and making the blue colours darker, but is not the ‘nuclear option’ of the red filter. Like the red filter it will have a stronger effect on your photographic exposure and cameras with ‘through the lens metering’ will not be able to automatically correct for the filter factor. So it is recommended that you overexpose your photos to compensate by an extra exposure stop.
When photographing with an orange filter, blue skies will be recorded in very dark tones, giving bold contrast between the sky and clouds. In portrait photography an orange filter can be used to soften skin tones and reduce freckles and blemishes.

Soaking up the sun on Fañabe Beach, Tenerife.
Colour Filters: Green
Effectively the opposite of a red filter, when using a green filter, skies, leaves and trees will become lighter. Red and orangish colours will become darker. A green filter can be helpful when green is the predominant colour in the photograph and you want to be able to separate out each of the green tones from each other and other colour tones captured in the photograph.
A green filter does not cause any problems for through-the-lens metering systems and the camera's light meter should be able to automatically compensate for the filter. Nature, forest landscapes and still-life photographs taken with a green filter will produce very different results from photographs taken with a red filter.

Local flora near Vilaflor, Tenerife.
Colour Filters: Blue
Blue filters are not typically used in black and white photography, however they can still be used on a camera shooting with black and white film to create certain effects. A blue filter will lighten the blues and darken any yellows, oranges and reds in the photograph, so it can be used for separating out these colours in a scene. It will also increase any atmospheric fog or haze in your photographs, so can be useful for creating or accentuating a smokey effect.

Cruise ship passing Saint-Tropez.
Colour Filters: Cyan
Cyan is not considered a standard colour filter for black and white photography either, but using it together with a panchromatic film allows you to produce a similar look to orthochromatic film by reducing the red light entering the camera. Colours which are red will appear darker in photographs taken with a cyan filter. This, however, can have some unintended consequences, with warm skin tones appearing darker than they should otherwise be, ergo this is not a good option if you are into portrait photography unless you are tying to recreate the look of black and white photographs from the late-nineteenth and early-twentieth centuries.
So these are the basics behind using colour filters when shooting with black and white photographic film.
If you would like to learn more about using colour filters when taking black and white photographs or how to use digital colour filters in Adobe’s apps like Lightroom Classic and Photoshop, then check out our online course Black & White Photography: Using Colour Filters to Enhance Your Film & Digital Images (available on Skillshare and on Teachable) on where I explore colour filters in black and white photography and digital edits.